**********************
EDIT: I just want to note that the screen filler is designed to create a permanent screen to reuse over and over. To remove the screen filler there is a product called Greased Lighting which is not made by Olivia Newton John and John Travolta. I've not used it before, that is just what the speedball pack recommends. If you want to reuse your screen I recommend a paper or plastic stencil rather than this method.
********************
I only just discovered this method of screenprinting recently and had no idea it was available. I felt like a bit of an idiot for not finding out about it sooner as it has the appeal of handcut stencils because it is hands on, but it provides a permanent screen. The print doesn't come out as crisp as my handcut stencils, but as long as you work this into your design then it isn't a problem.
Materials Needed:
A silk screen
Drawing Fluid
Screen Filler
Squeegee
Thin Brush
Gloves
Newspaper
I got my screen filler and drawing fluid from Melbourne Etching Supplies in Fitzroy, Melbourne and they are made by Speedball in the USA. I've not seen it in other art supply shops before and if you're not in Melbourne I think MES deliver. I'm not sure of the exact cost, but it was around $60 for the two bottles. The drawing fluid will last a lot longer than the filler judging by how much I've used already.
You need a longish squeegee to put the filler on the screen, something big enough to cover the whole design so you can get an even coat. If you only have a small one it might cause problems getting an even coat when you double up. Maybe some thick cardboard cut to the right size could also do the trick, although I've not tried this.
I recommend gloves when you put the screen filler on and newspaper for when you working with the drawing fluid to cover your surface. I used a thin brush for my design, but it depends on what you're doing, a bigger brush might suit you better.
You can buy your silkscreens from art supply shops, however they can be quite pricey. I make my own with wood that I cut to size and then nail and staple gun together. If you can't be bothered doing this you could be a canvas frame and remove the canvas, then stretch the silk onto it. I get my silk from All Australian Screenprinting Supplies, located in Bayswater, Melbourne, as they sell it by the meter. I am sure you can get it from art shops as well, I think I've seen it before. Making your own ends up being a lot cheaper when you are wanting a few screens which will be permanent. If you are doing a bit of printing, I suggest getting your inks from All Australian as well in litre tubs. I think if you order over $100 they deliver for free, however make a trip and visit the opshops in the area as they are worthwhile.

Set up your work area with newspaper, I find it is around the screen that drips occur most. If you are not sure about the drawing fluid, have a go at just drawing with it. Because it washes out with water you can do anything and wash it out, let it dry and start again.


The fluid is thicker than ink but not as thick as paint. It is a bit weird and takes some getting used to. I also find you need to use a bit of it to get a thick line. If it is too thin, the filler can cover it up and it wont wash out, so it needs to have some thickness to it.

This is a design I made by dripping the fluid. Although the line was nice and clean, I didn't like the design and ended up washing it out. You don't end up using much of the filler so you don't feel like you're wasting it which is good.

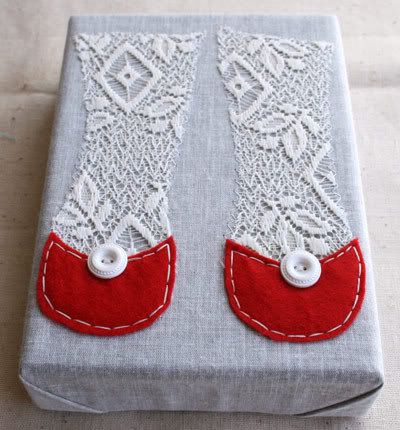
When you are ready to paint your design it helps to draw it on with pencil first. The pencil will just wash out, or come out in your first print. Take your time with the drawing fluid to make sure you have a nice solid line. Work slowly adding the ink when you create your linework to make sure it is nice and thick. It is very important that the line isn't thin, as the filler will just cover it and it wont wash out. If you make a mistake you can use a wet cloth to blot out that area and go over it again when dry. With the pattern on the socks I dotted the fluid on, I find this is a good way to create texture. Make sure your design isn't too close to the edge of the screen. I would give at least a 2 inches/5cm gap. When you start printing, if the ink is going to the egde it can seep out, if you're worried put a paper barrier up around the edges on the other side to pick up any excess.

The final design. You need to leave it to dry flat for some time. I wouldn't get the hair dryer out right away as the air blowing on the fluid could cause it to move about and screw with your design. I usually put it out in the sun for a few hours. If you don't have much sun it will take longer and if you're unsure leave it overnight. You don't want to lose all your handwork just because you're inpatient now do you? (Speaking from experience here!)

Here is a close up of the fluid, you can see it has a bit of height to it.

This is the screen filler. It is harder to work with than the fluid and so time to get the gloves on, and put some newspaper around as well. I do mine over the laundry sink so you might get a peek at the fabric softener we use, and the old school microwave which doesn't even have pride of place in our kitchen.

Oh look, we use cold power. Okay the colour of the screen filler is nice, the type of colour you dream about your bridesmaids wearing, or is that my nailpolish? Anyway this stuff needs a good stir as it is quite thick and the heavy stuff goes to the bottom. Put the filler at the top of the screen on the same side as the drawing fluid. I put about the same amount on as I would if I wanted to fill the whole screen with screenprinting ink. It is better to have more than less, however it is also messier. I put more on this time and it all dripped off the edge and onto the ground and I didn' thave newspaper down either. It can be cleaned up, but do it right away, don't let it dry then try and remove it.

I've not got progress shots as I couldn't take photos and run the squeegee at the same time, so this is without the fluid, but imagine it is there. You really want to get it all down in one go and not have to patch anything up, so make sure you have enough filler right across the whole squeegee. If you don't get it in one go and there is quite a bit that isn't covered, it might be best to let it dry flat and then add more later, because when you try and patch it up it can often remove some of the filler already there. If you do let it dry and do it again, don't recover the areas already covered if you can help it as the drawing fluid might not come off.

Here is the screen with the filler on it. This is probably my 4th or 5th go at covering a screen and probably the best one yet, so you do get better. If you have some edges that are not covered and they are well away from the design you can patch them up with a brush to make sure ink wont get out the sides.
Now it is time to let it dry. Again, I put it out in the sun, however the hair dryer could be used at this point. If you're unsure, leave it overnight. Make sure it dries flat though, you don't want it upright and all the filler coming off.Once dry you need to run it under COLD water. Don't use hot as the filler can come off. You might want to use a sponge to get the drawing fluid out, and it might take a bit of water to do it, so fill the sink up a bit and just rub it down. You shouldn't need to use much force, the drawing fluid will come out.

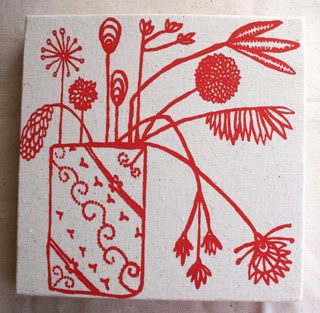
Here are my prints, I did two colours underneath the black and for those I cut the stencils out from paper, so the black part is what I did for this tutorial. I don't think I had any problems with this print with the filler not covering everything or filler covering too much. As long as you take your time and make sure everything is done okay and dry there should not be any problems.


